
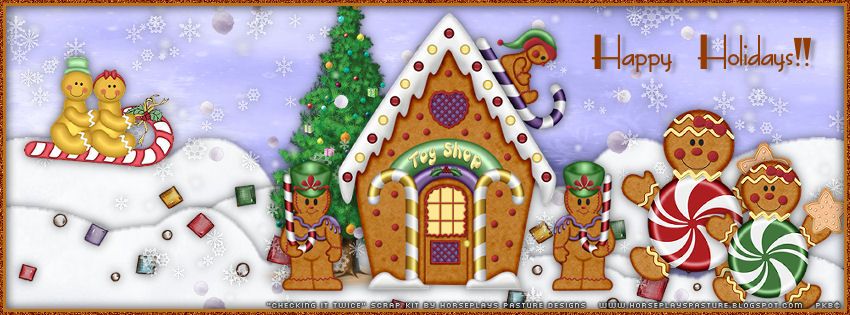
Happy Holidays

This tutorial was
written by me on November 14, 2014,
using my own ideas. Any resemblance to others is coincidental and accidental.
This tutorial assumes you have a working knowledge of psp and is written in
PSPX.
Please leave some love
when downloading supplies. The artists/creators work hard to make/share their
work with us, so let's be appreciative. Please use all correct copyright
information and follow all TOU’s. Let’s give credit where credit is due.
As always, tutorials
are only a guideline. If you don't have the exact supplies, use ones you have
or ones you choose.
Supplies:
“Checking It Twice” FTU scrap kit by Horseplay’s Pasture Designs
Font_FashionVictim
Abbreviations:
EC = Eye Candy
GG = Gradient Glow
DS = Drop Shadow
C/P = Copy and Paste
FF = Flood Fill
ANL = Add New Layer
AS = Animation Shop
This is a really fast, cute Facebook Banner set. J
To make this into a forum set, simply scale everything down
to 600x250 for signature and 150x150 for avatar J
Open new 850x315 canvas
~*~*~ This step is only necessary if the header will be used
on a personal Facebook page. Group headers do not need this step ~*~*~
ANL
Custom Selection:
Left: 0
Right: 183
Top: 172
Bottom: 315
FF with any color (this will be deleted later so doesn’t
matter about color)
Select none
Highlight background layer
FF#000040
ANL
Select all
C/P paper 13 into selection
Select none
Blend mode_Luminance (L)
C/P element 33 (snow) placing at bottom
Duplicate_Mirror
Move up just a bit so snow drifts are off set
Duplicate_Mirror
Move up again
Duplicate_Mirror
Move up once more
(you should have 4 layers of snow each offsetting the other
so it covers a little over half way up canvas and looks like snow drifts as
shown in sample)
Now, remember that solid color square we made? That is approximately
where your avatar for Facebook will be, so be sure to leave that area free of
anything you don’t want covered up.
C/P the following
elements, re-sizing, duplicating, mirroring, placing as shown:
34
35
36 – Sharpen
40 – Mirror
60
61
62
74
Once you have everything placed the way you like it, delete
the solid square from the header.
ANL to top
FF #b77322
ANL to top again
FF #923c00
Select all_Highlight top layer_Contract 3_Delete
Highlight next layer down (light brown)
Contract 3_Delete
Select none
Highlight top border layer (dark brown)
Noise_Gaussian 50
DS all layers EXCEPT element 35 and dark brown border:
0_0_60_15_Black
Add all correct copyright/license information
~*~*~ Note: Facebook will automatically put your name and a
couple clickable blocks along the bottom of the header, so be sure to place the
copyright/license info where it will still be readable after placed on Facebook
~*~*~
Add your wording:
FashionVictim_48_#b77322
DS_2_5_30_5_Black
Save!!!
Avatar:
Open new 200x200 image:
Drag/Drop the solid background, paper13 layer, and element
36 onto the new image (Drag/Drop: click on layer in palette, hold left button
down, drag to new canvas, release left button.)
Sharpen element 36
Blend mode of paper layer_Luminance (L)
C/P element 40
Mirror
ANL to top
FF #b77322
ANL to top again
FF #923c00
Select all_ Highlight top layer_Contract 3_Delete
Highlight next layer down (light brown)
Contract 3_Delete
Select none
Highlight top border layer (dark brown)
Noise_Gaussian 50
DS all layers EXCEPT dark brown border:
0_0_60_15_Black
Name_ FashionVictim_48_stroke 1 #923c00_fill #b77322
Sharpen
DS_2_5_30_5_Black
Save!!!
No comments:
Post a Comment