Showing posts with label Derk Hansen. Show all posts

Tuesday, June 3, 2014

No Scraps Forum - One Thread


One Thread


This tutorial was written by me on June 03,2014, using my own ideas. Any resemblance to others is coincidental and accidental. This tutorial assumes you have a working knowledge of psp and is written in PSPX.

Please leave some love when downloading supplies. The artists/creators work hard to make/share their work with us, so let's be appreciative. Please use all correct copyright information and follow all TOU’s. Let’s give credit where credit is due.
As always, tutorials are only a guideline. If you don't have the exact supplies, use ones you have or ones you choose.


Supplies:

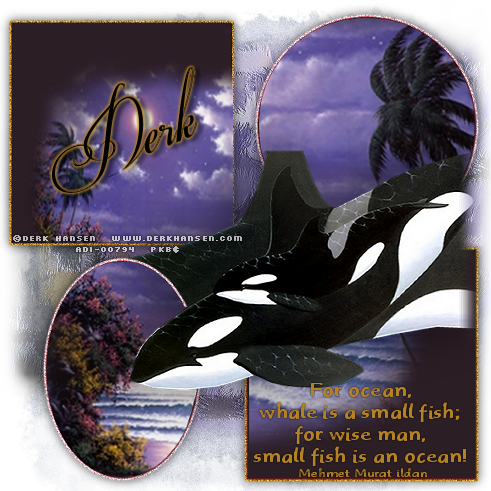
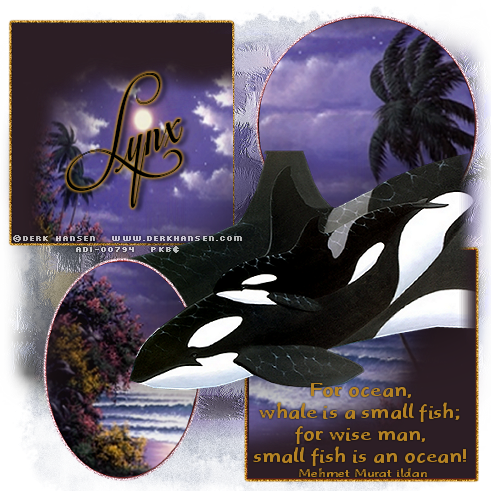
“Evergreen – 2011” tube by Derk Hansen – tube/license available at ADI
Quote/Saying of choice
Plugin Galaxy_Feedback
Font_ RoughBrush


Abbreviations:
EC = Eye Candy
GG = Gradient Glow
DS = Drop Shadow
C/P = Copy and Paste
FF = Flood Fill
ANL = Add New Layer
AS = Animation Shop


Open blank 600x250 canvas

Gradient_#ffdb97 and #855435_angle 45_repeats 1

ANL_FF with gradient

Effects_Distortion Effects_Pixelate_both boxes 10
Effects_Edge Effects_Enhance
Plugin Galaxy_Feedback_Simple Feedback_63_141_217_424
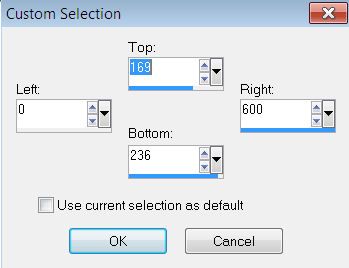
Custom Selection:


Promote to layer
Image_Mirror
ANL below mirror strip
FF #855435
Select none
DS_0_0_100_15_Black
Change blend mode of promoted layer to Hard Light

Add word art/saying of choice

C/P tube and place to the right
Duplicate
On original tube layer_Adjust_Blur_Gaussian_5
Adjust_Blur_Motion Blur_247_100
Repeat motion blur

Add noise_Gassian_14

DS duplicate tube_0_0_50_10_Black

ANL to top_FF #ffdb97
ANL to top_FF #855435
Select all_Contract by 3_Delete
Highlight next layer down_Contract by 1_Delete_Select none
DS_0_0_100_10_Black

Add all correct copyright/license information

Name_RoughBrush_72__#ffdb97
DS_2_5_50_5_Black

Save!!!

Monday, May 12, 2014

No Scraps - Oceans

Oceans


This tutorial was written by me on May 09,2014, using my own ideas. Any resemblance to others is coincidental and accidental. This tutorial assumes you have a working knowledge of psp and is written in PSPX.
Please leave some love when downloading supplies. The artists/creators work hard to make/share their work with us, so let's be appreciative. Please use all correct copyright information and follow all TOU’s. Let’s give credit where credit is due.
As always, tutorials are only a guideline. If you don't have the exact supplies, use ones you have or ones you choose.


Supplies:

“Silversands” tube and “A New Generation” tube by Derk Hansen  – tubes/license available at ADI
Template 1 by Lynx
Eye Candy 4000_Gradient Glow
Mask of choice
Quote/Saying of choice
Font_ Respective Slanted (name) and Rhino (saying)


Abbreviations:
EC = Eye Candy
GG = Gradient Glow
DS = Drop Shadow
C/P = Copy and Paste
FF = Flood Fill
ANL = Add New Layer
AS = Animation Shop


 When working with templates, always Shift+D to duplicate, close original, then on each layer, select with magic wand (or Select All, Float, De-float), ANL, close/delete the original, do steps required in tutorial, select none.


Open template      
Re-Size to 600x600

Magic Wand_click inside square on white background_Promote to layer
Select none
Delete white layer

ANL to bottom of palette_FF #bcc8d9
Apply mask_Stretch to almost the edges of canvas
Noise_30

C/P “Silversands” misted tube as new layer
Duplicate
On original_Effects_Art Media Effects_Brush Strokes_1_256_14_41_15_24_71_ #404040

Move duplicate misted tube layer to top

Square layers_Merge Together_Select_Highlight misted tube layer_Promote to selection_Select none
(if original squares color does not match your tube, FF with an appropriate color
Original square layers_EC 4000_Gradient Glow_3_25_100_ #b48223
Select the glow area_Noise 50
DS_0_0_65_15_Black
                                                                                                                           
Oval Layer_Select_Position misted tube layer so parts you like are showing_Promote to layer_Select none
Repeat GG on original oval layer changing color to #debcc6
Repeat DS

Circle layer_Repeat steps as for oval

C/P “A New Generation” tube and place as shown

Erase the part of the partial face so it looks like it is going behind the oval
EC5_Impact_Perspective Shadow_Drop Shadow_180_29_60_82.89_Mask Selection

Make a small selection on the tail end of the tube with the selection tool_Feather 34_Hit delete until the tail looks like you want

Add all correct copyright/license information

Name_ Respective Slanted_72_Black
Repeat GG using #b48223
DS_2_5_50_5_Black

Save!!