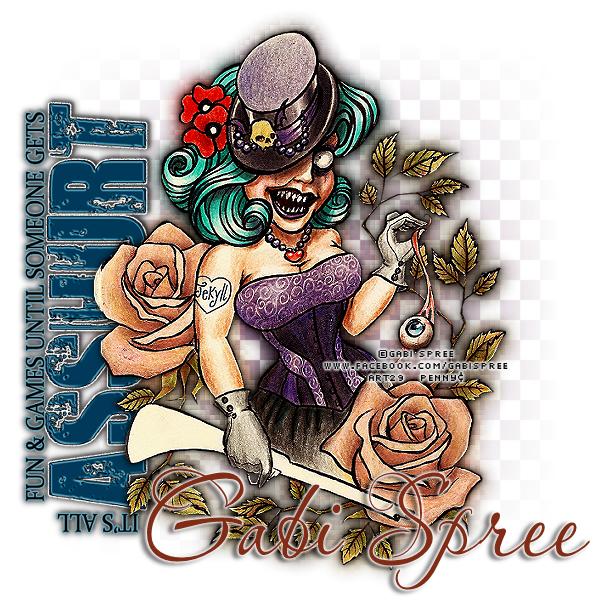
Showing posts with label Gabi Spree. Show all posts

Monday, September 17, 2012

No Scraps - Gabi's Hyde


Gabi’s Hyde


This tutorial was written by me on September 14, 2012, using my own ideas. Any resemblance to others is coincidental and accidental. This tutorial assumes you have a working knowledge of psp and is written in PSPX.
Please leave some love when downloading supplies. The artists/creators work hard to make/share their work with us, so let's be appreciative. Please use all correct copyright information and follow all TOU’s. Let’s give credit where credit is due.
As always, tutorials are only a guideline. If you don't have the exact supplies, use ones you have or ones you choose.


Supplies:

“Mss_Hyde” by Gabi Spree available at ART
KK Wordart 006 by Wordart Warehouse
Xero_Fritillary
Eye Candy 4000_Gradient Glow
Becky_Mask042
Font_Aquarelle


Abbreviations:
EC = Eye Candy
GG = Gradient Glow
DS = Drop Shadow
C/P = Copy and Paste
FF = Flood Fill


Open blank 600x600 canvas
Add new layer – FF #67355c
Apply mask
C/P tube – duplicate
On original – Gaussian Blur_10 – Xero_Fritillary_5_30_10_24
Duplicate Fritillary layer – change blend mode to Hard Light
Change opacity of original Fritillary layer to 71
C/P wordart – rotate_Left_90
Add all correct copyright/license information
Add name_Aquarelle_100_#812c17
EC 4000_GG_3_25_100_White
DS name_2_-5_50_5_Black
DS tube and wordart_0_0_100_10_Black
Save!!

Wednesday, July 11, 2012

PTU - Coffee


Coffee


This tutorial was written by me on July 11, 2012, using my own ideas. Any resemblance to others is coincidental and accidental. This tutorial assumes you have a working knowledge of psp and is written in PSPX.
Please leave some love when downloading supplies. The artists/creators work hard to make/share their work with us, so let's be appreciative. Please use all correct copyright information and follow all TOU’s. Let’s give credit where credit is due.
As always, tutorials are only a guideline. If you don't have the exact supplies, use ones you have or ones you choose.


Supplies:

“Coffee Break” tube by Gabi Spree available at ART
“Morning Brew” PTU scrap kit by Swheat Creations
Mask 516 by Insatiable Dreams
Eye Candy 4000 – Gradient Glow
Font of choice – I used A&S Porkchop Primitive


Abbreviations:
EC = Eye Candy
GG = Gradient Glow
DS = Drop Shadow
C/P = Copy and Paste
FF = Flood Fill


Open 600x600 blank image
Add new layer
Select all – C/P Destiny 11 into selection
Select none
Apply Mask
Add noise_34
C/P tube
C/P the following elements, resizing, mirroring, and placing as desired:
Coffee Can 2
Coffee Cup
Coffee Sign 1, 3, 4, and 5 – rotating as shown
Frame Flowers
Glitter Splatter 4
Morning Sun
Straw
DS all layers_0_0_100_10_Black
Add all correct copyright/license information
Add name_ A&S Porkchop Primitive_72_Black
EC 4000 – GG_3_25_100_ #e4890b
DS_2_-5_50_5_Black
Save and enjoy!!!

Friday, June 22, 2012

PTU - Wild Thang


Wild Thang


This tutorial was written by me on June 22, 2012, using my own ideas. Any resemblance to others is coincidental and accidental. This tutorial assumes you have a working knowledge of psp and is written in PSPX.
Please leave some love when downloading supplies. The artists/creators work hard to make/share their work with us, so let's be appreciative. Please use all correct copyright information and follow all TOU’s. Let’s give credit where credit is due.
As always, tutorials are only a guideline. If you don't have the exact supplies, use ones you have or ones you choose.


Supplies:

“Mistress Of Cheetah” tube by Gabi Spree available at Artistic Reality Talent
“Drive Me Wild” scrap kit by Swheat Creations
Mask of choice – I used Becky_Mask009
Font of choice – Jellyka Castle’s Queen
Eye Candy 4000 – Gradient Glow


Abbreviations:
GG = Gradient Glow
DS = Drop Shadow
C/P = Copy and Paste
FF = Flood Fill


Open blank 600x600 image
Add a new layer
Select all
C/P WildBkg10 into selection
Select none
Open mask in psp
Layers - New mask layer – From Image - choose your mask
Merge Group
C/P Ring as new layer
Magic wand – click inside ring
Selections – Modify – Expand by 16
C/P LepPrint2 as new layer
Position below ring with parts you want showing thru ring
Promote selection to layer
Select none
Delete original LepPrint2
C/P tube
C/P the following elements, resizing, and placing to your liking:
Grass1
Flower1
Flower2
Fern3
Bow2
WildText2
DS tube and elements_0_0_100_10_Black
Add all correct copyright/license information
Add name – Jellyka Castle’s Queen_100_Black_Stroke 1_#894733
Convert to raster
EC 4000 – GG_3_25_100_White
DS_2_-5_50_5_Black
Save and enjoy!!

Thursday, May 10, 2012

PTU - Hard Rock Cheetah*


   Hard Rock Cheetah


This tutorial was written by me on May 10, 2012, using my own ideas. Any resemblance to others is coincidental and accidental. This tutorial assumes you have a working knowledge of psp and is written in PSPX.
Please leave some love when downloading supplies. The artists/creators work hard to make/share their work with us, so let's be appreciative. Please use all correct copyright information. Let’s give credit where credit is due.   :)
As always, tutorials are only a guideline. If you don't have the exact supplies, use ones you have or ones you choose.  :)


Supplies:

Tube of choice – I used the awesome work of Gabi Spree – you can get this tube and many more at Artistic Reality Talent – Please do not use this same tube without the proper license to do so

Scrap kit of choice – This one is called, “Hard Rock” by Amy Marie and can be purchased at ArtisticReality Talent

Music” Word Art 12 by me_click image, then right click and save full size png


Mask of choice – I used Becky_Mask 023

Font of choice – I chose Dominique

Eye Candy 4000 – Gradient Glow


Open a 650x650 new image in psp.
Add a new layer – Selections – Select All
Open paper 10 in psp – copy/paste into selection – select none
Layers – New Mask Layer – From Image – Choose your mask from the dropdown list
In layer palette – right click mask layer – Merge – Merge Group
Open stamp frame 1 – copy/paste as a new layer – resize – Adjust – Sharpen – Sharpen More
Using magic wand, click inside the frames
Selection – Modify – Expand – 3
Add new layer below frame
Selections – Select All
Open paper 18 and copy/paste into selection – select none – Sharpen
Add new layer above frames
Selections – Select All – Copy/paste Wire 2 into selection – select none
Apply your mask to the wire layer, merging group as before
Resize and position to your liking – Sharpen a couple of times to bring out the metal look
Copy/paste the backstage pass on top of frames but below the wire
Resize – sharpen – position
Copy/paste the following elements onto your tag – resizing – sharpening – and positioning where you want them:
Bow 3
Drumset Hard Rock
Flower 2
Speaker 1
Speaker 3
Music notebar 2
Guitar 2
Guitar 3
Be sure to sharpen each layer after resizing to keep them sharp
Now, add the word art
Effects – Eye Candy 4000 – Gradient Glow_3_25_100_#ab0000 (or a color that matches your tube/kit )
Sharpen More
Add your tube – resize – sharpen
Go back and add a drop shadow of choice to all layers – my setting for the word art and name are_2_-5_100_5_Black and for all others_2_-5_50_5_Black
Add your name and copyright info in fonts of choice
Thanks for trying my tut and I would love to see your results!