Showing posts with label Digital Art Heaven. Show all posts

Sunday, November 6, 2022

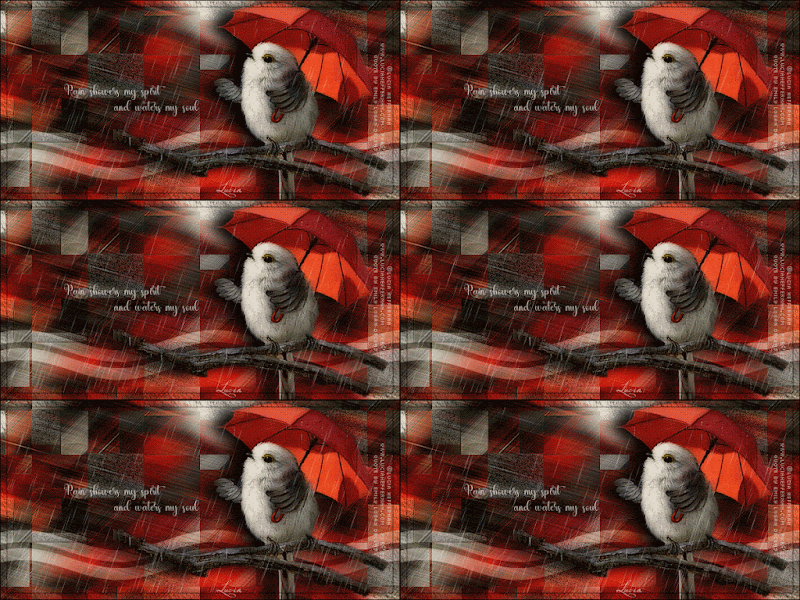
No Scraps Forum "Rain Showers"


Rain Showers


This tutorial was written by me, VCC, on November 06, 2022 using my own ideas. Any resemblance to others is coincidental and accidental. This tutorial assumes you have a working knowledge of psp and is written in PSPX.


Supplies:

"High and Dry" tube by Lucia Heffernan - this is a FTU artist who granted permission to use their art to Angels Design forum. PLEASE use a suitable tube that you have a license/permission for. DO NOT use this artists work unless you have permission.

Rain animation by Simone

Wording/Quote of choice


FILTERS:

Kiwi's Oelfilter_Zig-Zack

VM Distortion_Tiles A Go-Go

Mura's Meister_Copies

AAA Frames_Texture Frame


FONTS:

Plaster Of Paris

Abbreviations:

DS_Drop Shadow

ANL_Add New Layer

EC_Eye Candy

GG_Gradient Glow

AS_Animation Shop

C/P_Copy and Paste

FF_Flood Fill

Ctrl+A_Select All

Ctrl+C_Copy

Ctrl+V_Paste

Ctrl+D_De-select

Ctrl+E_Paste Into Selected Frame/s


Open blank 600x300 canvas

C/P tube

Mura's Meister_Copies_Wallpaper Rotate_Default

Adjust_Blur_Motion Blur_60_100

Repeat Blur

Effects_Edge Effects_Enhance

Duplicate this layer

Kiwi Oelfilter_Zig-Zack_56_80_128_128

**NOTE: This filter is notoriously cranky, so you may have to adjust the settings to your liking**

VM Distortion_Tiles a GoGo_32_0_207_163

Blend Mode_Soft Light

Selection Tool

Select random areas of the GoGo layer


Delete

Highlight the bottom blur layer

Promote Selection To Layer

Ctrl+D

Add Noise_Uniform 35

Rectangle Shape Tool_Stroke 0_Fill White

Draw a narrow strip across tag going past the edges a ways

Convert to raster

Effects_Distortion Effects_Wave_5_45_5_45_Transparent

Duplicate

Move down slightly as shown

Merge wave lines together

Blend Mode_Soft Light

C/P tube placing as shown

EC5_Impact_Perspective Shadow_Drop Shadow_187_24.19_97_26.21_Black_Mask Selection

Crop to 600x300

Copy Merged

Paste as new layer to the top

AAA Frames_Texture frame_Change top number to 10

Select All_Contract 11_Delete_Select none

Add wording of choice and all correct copyright/license information

Opacity of these layers_65

Name_Plaster Of Paris_22_White

Opacity_65

Hide the name, wording, credits, and frame

Copy Merged

AS:

Paste as new animation

Ctrl+L until you have 15 frames

Ctrl+A

Open Rain animation by Simone

Resize by 50%

Ctrl+A

Ctrl+M

Ctrl+C

Highlight your tag

Ctrl+A

Ctrl+E placing to the left

Click mouse button to set

Ctrl+E place to the right covering tag

Click mouse to set

Back to PSP:

Open frame layer

Copy

AS_Paste as new animation

Ctrl+C

Be sure the "Propagate Paste" button in tool bar is clicked (looks like 3 sheets of paper)

Highlight tag

Roll mouse to enlarge slightly

Ctrl+A

Ctrl+E

Click mouse to set (if you enlarged slightly, it should automatically be centered)

PSP:

One at a time, copy the name, credits, and wording layers

*AS_Paste each as new animation

Ctrl+C

Highlight tag

Ctrl+A

Ctrl+E

Place each where you like

Click mouse to set*

Repeat from * to * for each wording, credit, and name layer

View Animation

If happy, save!


This set was made using the wonderful art of Amberly Berendson.

Tube/license currently available at Digital Art Heaven


Thursday, March 29, 2018

No Scraps "Stand Out"

Stand Out


This tutorial was written by me on March 28, 2018 using my own ideas.
Any resemblance to others is coincidental and accidental.
This tutorial assumes you have a working knowledge of psp and is written in PSPX6.


"Sexydevil" tube by AV. Phibes_tube/license currently available at DAH
SATC Exclusive Template April 27 by Dangerously DeliciousDesignz_
Brush/Mask of choice


Filters;

Xero_Fritillary

Eye Candy 4000_Gradient Glow


Fonts:

KG Be Still And Know


Abbreviations:
DS_Drop Shadow
ANL_Add New Layer
EC_Eye Candy
GG_Gradient Glow
AS_Animation Shop
C/P_Copy and Paste
FF_Flood Fill

When working with templates, always Shift+D to duplicate, close original,
then on each layer, select with magic wand (or Select All, Float, De-float), ANL,
close/delete the original, do steps required in tutorial, select none
 

Another way to color the template layers is to use the Manual Color Correction Tool. This saves so much time!!
There is a great tutorial on how to use this tool by Justfi HERE.

After you get the hang of using the tool, you can simply highlight the layer, click Manual Correction tool, set top box to original color, bottom box to new color, then OK. Easy peasy!!


ANL

Apply brush/mask of choice using #c000c0

Blue Circle_#57167e

Add Noise_Uniform 50

DS_0_0_75_15_Black

Purple Oval_#8301df

DS_0_0_75_15_Black

Left White Strip_#ff00ff

Add Noise_Uniform 50

DS_0_0_100_10_Black

Left Yellow Strip_#b900ec

Effects_Texture Effects_Blinds_10_15_Black_Both boxes clear

DS_0_0_100_5_Black

Right White Strip_#ff00ff

Add Noise_Uniform 50

DS_0_0_100_10_Black

Right Yellow Strip_#b900ec

Effects_Texture Effects_Blinds_10_15_Black_Both boxes clear

DS_0_0_100_5_Black

White Square_#ff00ff

Add Noise_Uniform 50

DS_0_0_100_10_Black

Purple Square_#57167e

Xero_Fritillary_5-40_10_10

DS_0_0_100_5_Black

C/P tube placing desired parts inside selection

Invert_Delete_Select none

Blend Mode of tube_Soft Light

Dotted Square_Leave as is

Top Blue Strip_#b600e8

Noise_Uniform 30

DS_0_0_100_5_Black

Top White Strip_#ff00ff

DS_0_0_100_5_Black

Diagonal White Strip_#ff00ff

Add Noise_Uniform 50

DS_0_0_100_10_Black

Diagonal Yellow Strip_#7917e0

Xero_Fritillary_20_30_0_10

DS_0_0_100_5_Black

White Circle_#ff00ff

DS_0_0_100_10_Black

Add Noise_Uniform 50

Purple Circle_Black

DS_0_0_100_5_Black

Bottom Blue Strip__#b600e8

Noise_Uniform 30

DS_0_0_100_5_Black

Bottom White Strip_#ff00ff

DS_0_0_100_5_Black

Pixel Words_Leave as is

C/P tube

DS_9_-15_35_25_Black

Stand Out DS_Leave as is

Stand Out White_#ff00ff

Add Noise_Uniform 50

Stand Out Black_Leave as is

I Was Born to_EC 4000_GG_3_25_100_#ff00ff

Cos Baby_#ff00ff

Pixel Hearts_Leave as is

Add all correct copyright/license information

Name_ KG Be Still And Know_36_Black

EC 4000_GG_3_25_100_#ff00ff

DS_2_2_100_5_Black

Save!!


Sunday, September 11, 2016

No Scraps Forum "Night Owl"

Night Owl


This tutorial was written by me on September 10, 2016 using my own ideas.

Any resemblance to others is coincidental and accidental.

This tutorial assumes you have a working knowledge of psp and is written in PSPX6.


Supplies:

"Moon Owl" tube by Dark Yarrow_tube/license currently available at Digital Art Heaven ( I purchased this tube when Ms. Yarrow was at Digital Chaos, which has since closed)


Filters:

Xenofex 2_Little Fluffy Clouds


Fonts:

Aharoni


Abbreviations:

DS_Drop Shadow

ANL_Add New Layer

EC_Eye Candy

GG_Gradient Glow

AS_Animation Shop

C/P_Copy and Paste

FF_Flood Fill


When working with templates, always Shift+D to duplicate, close original,

then on each layer, select with magic wand (or Select All, Float, De-float), ANL,

close/delete the original, do steps required in tutorial, select none


Main Background_Xenofex 2_Little Fluffy Clouds:


Merge together_Bottom Triangle Background, Right Triangle Background, and Top Triangle Background

Select with magic wand

C/P image that comes with the tube as a new layer

Position so the parts you like are showing

Selections_Invert_Delete_Select none

(you may have to add another piece of the image to completely cover the bottom triangle, just be sure the area where the two pieces come together is hidden by the main tube)


Merge together_Top Triangle Lines, Bottom Triangle Lines, and Right Triangle Lines

Change color to #20253a

DS_0_0_50_15_Black


Black Lines_Apply Xenofex_Little Fluffy Clouds_Same settings as above

Adjust_Add Noise_Gaussian 15

Duplicate

Blend mode of duplicate_Multiply

Repeat DS on original lack lines


C/P tube

Repeat DS


Add all correct coyright/license information


ANL to top

FF #20253a

Select All_Contract 3_Delete_Select None


Name_ Aharoni_72_ #24466c

Image_Free Rotate_Right 45

Position as shown

Adjust_Sharpen More

Repeat Sharpen More

DS_3_3_50_5_Black


Save!