Love Me Tender

This tutorial was written by
me on August 30, 2018 using
my own ideas.
Any resemblance to others is
coincidental and accidental.
This tutorial assumes you
have a working knowledge of psp and is written in PSPX6.
Supplies:
"Sweet Little Kisses"
tube by Zindy
"Love Me Tender"
word art by me
- this word art was made
for Artistic Tag Passions
forum Blog and you
can grab it from HERE
Filters:
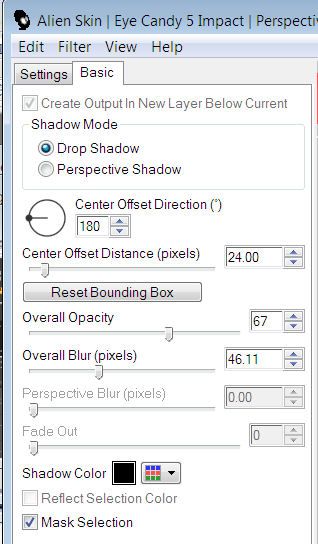
Eye Candy 5_Impact_Gradient Glow
Fonts:
Mirella Script Limited Free Ver
Abbreviations:
DS_Drop Shadow
ANL_Add New Layer
EC_Eye Candy
GG_Gradient Glow
AS_Animation Shop
C/P_Copy and Paste
FF_Flood Fill
*When working with templates, I use the Manual Color
Correction Tool (MCCT):
Highlight template layer
Click on the MCCT
Set top box to original layer color
Set bottom box to new color
Click OK
If you want to use the same color with different shades,
simply click each template layer and apply the MCCT
WITHOUT changing the bottom color. This usually works giving
each layer a different shade of the same color.
Occasionally you will find a template that this will not
work on tho, so in that case simply change the colors each time.
This works great on templates with different shades of Gray
and Black.*
There is a great mini-tut on how to use the MCCT by Justfi HERE
Another way to color template layers:
When working with templates, always Shift+D to duplicate,
close original,
then on each layer, select with magic wand (or Select All,
Float, De-float), ANL,
close/delete the original, do steps required in tutorial,
select none
Try it out and see what works for you.
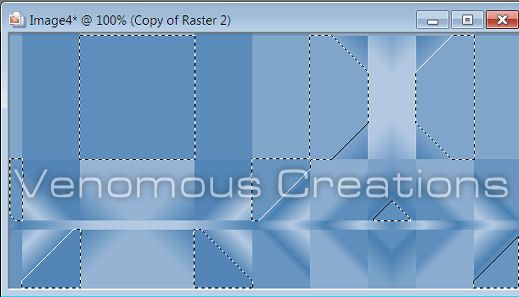
Rectangle 1_Black
Adjust_Add/Remove Noise_Gaussian 27
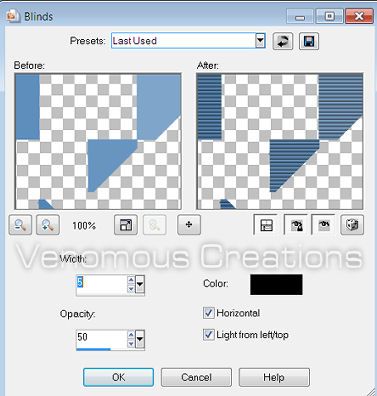
Rectangle 2_Effects_Texture Effects_Blinds_7_28_Black_Light
from left/top checked
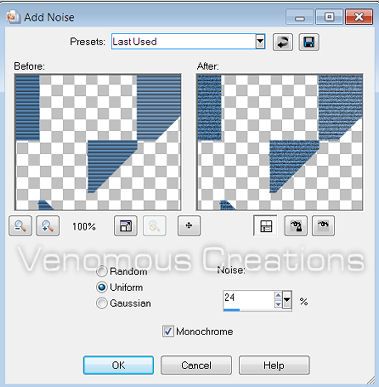
Rectangle 3_Adjust_Add/Remove Noise_Gaussian
27
Circle_Adjust_Add/Remove Noise_Gaussian 28
C/P tube close up positioning
over the circle
Adjust_Blur_Radial
Blur_Zoom_50_Elliptical_0_0_10
Magic Wand_Select the Circle
Invert
Highlight blur layer
Delete
Select none
Blend Mode_Multiply
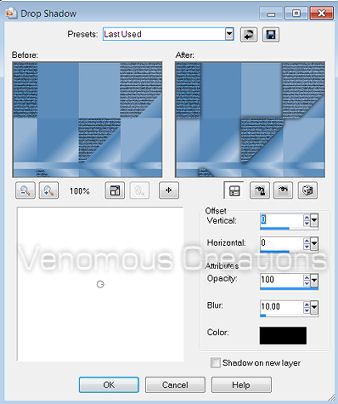
DS each template
layer_0_0_75_15_Black
C/P tube
Duplicate
Blend Mode_Overlay
DS original
tube_10_25_75_35_Black
C/P word art
Duplicate
Highlight original word art
EC5_GG_Outside
glow_5_35_100_23_55_100_ #f2f8ff
Adjust sliders for desired
thickness
Adjust_Add/Remove Noise_Gaussian 50
DS_5_5_75_5_Black
Add all correct copyright/license
information
Name_Mirella Script Limited
Free Ver _85_#f2f8ff
DS_5_5_75_5_Black