Forest Friends

This tutorial was written by me on January 02, 2017 using my own ideas.
Any resemblance to others is coincidental and accidental.
This tutorial assumes you have a working knowledge of psp and is written in PSPX6.
Any resemblance to others is coincidental and accidental.
This tutorial assumes you have a working knowledge of psp and is written in PSPX6.
Supplies:
"Woodland Frolic"
PTU scrap kit by FwTags Creations - kit is currently available at ADI
Filters:
None
Fonts:
Mon Amour Script Pro
DS_Drop Shadow
ANL_Add New Layer
EC_Eye Candy
GG_Gradient Glow
AS_Animation Shop
C/P_Copy and Paste
FF_Flood Fill
Open blank 600x600 canvas
ANL
Select All
C/P paper 4 into selection
Select none
Apply mask
C/P element 61
Mirror
Selection Tool_Point To Point
Select the Left Limb:

Promote To Layer
Select None
Move the promoted limb up:

C/P tube
Place so ropes of swing are
on limb:

Select the right ropes

Promote to Layer
Keep Selected
Duplicate tube
Click Delete
Select none
Erase any of the Left ropes
that show above the limb
**Top tube_Free Rotate Right
10
Duplicate
Free Rotate Right 10
Highlight middle tube
Duplicate
Highlight bottom tube
Free Rotate Left 10
Duplicate
Highlight bottom tube
Free Rotate Left 10**
Line the Left ropes so they
all cross in same spot on limb

Now repeat from ** to ** with
the promoted Left rope layer
Line the Left ropes so they
all cross at same spot on limb
Move each promoted rope layer
below the corresponding tube layer (tube and rope should both be at same angle)
Merge each rope with each
corresponding tube
Selection Tool_Point To Point
Select any ropes that shows
above the limb

Delete on each layer
Select none
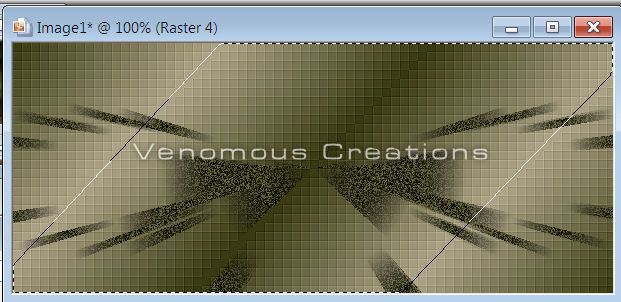
Your canvas should look like
this:

Close top 2 and bottom 2 tubes
for now
C/P element 52, placing
behind tree trunk
Duplicate
Re-size and move to the right
and down slightly
Duplicate
Mirror
Move to the left and down
(this will fill in the
background and give a "forest" look)
C/P element 56, placing at
bottom left of tree trunk above all other layers
Duplicate
Mirror
Place to right of and below
the tree trunk
C/P element 5 placing as
shown
C/P element 36 placing as
shown
C/P element 4, placing in the
bottom left area of tag
C/P element 63, placing in
the bottom right area
C/P element 20 placing on
element 63 so it looks like the Squirrel is sitting on the log
C/P elements 65 and 66,
placing in the bottom Left area as shown
C/P element 30, placing to
the bottom left as shown
C/P element 2, placing as
shown
C/P element 64, placing
directly below element 63
C/P element 48, placing in
the top left area
Duplicate
Mirror
Move to the bottom of all
layers
C/P element 59, placing in
the bottom right area
C/P element 19
Free Rotate Right 15
Place over right ends of
ropes on limb as shown
Sharpen each layer
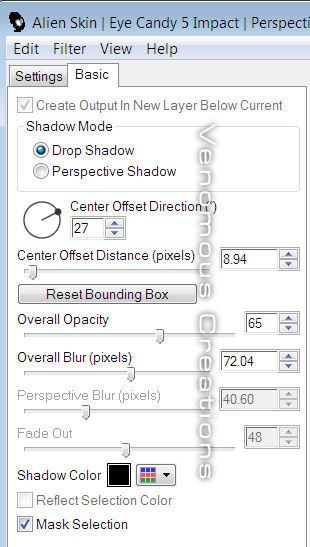
DS tube
layers_0_0_50_15_Black
DS all other
layers_0_0_70_15_Black
Add all correct copyright/license
information
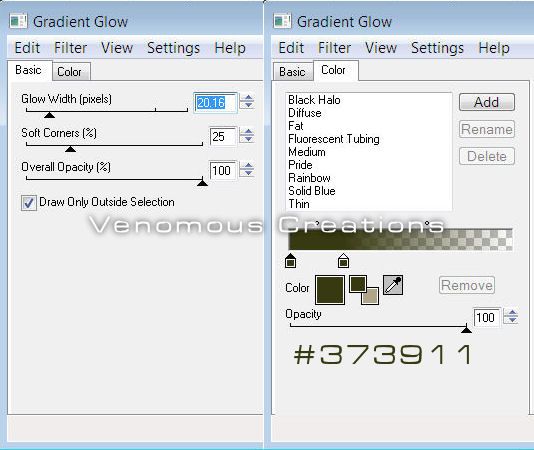
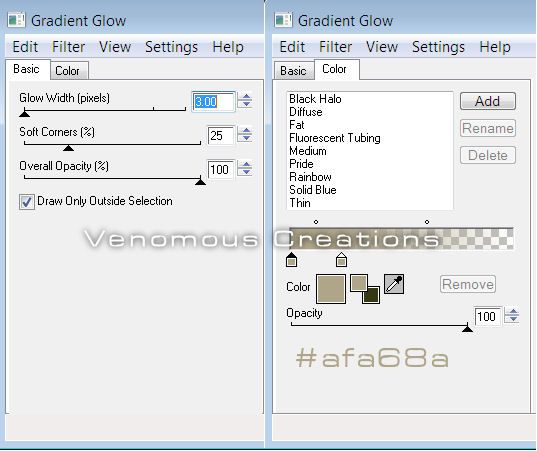
Name_ Mon Amour Script Pro_55_ #edd18e
DS_2_3_50_5_Black
ANIMATING
Close all tube layers except
top tube layer
Copy Merged
AS
Paste As New Animation
Paste As New Animation
PSP
Close top tube layer and open next tube layer
Close top tube layer and open next tube layer
Copy Merged
AS
Paste After Current Frame
PSP
Close 2nd tube and open 3rd
tube
Copy Merged
AS
Paste After Current Frame
PSP
Close 3rd tube and open 4th
tube
Copy Merged
AS
Paste After Current Frame
PSP
Close 4th tube and open 5th
tube
Copy Merged
AS
Paste After Current Frame
Select All
Copy
Highlight Frame 5
Paste After Currrent Frame
Animation_Reverse Frame
Animation_Frame Properties 17
View animation
If happy, save!!!