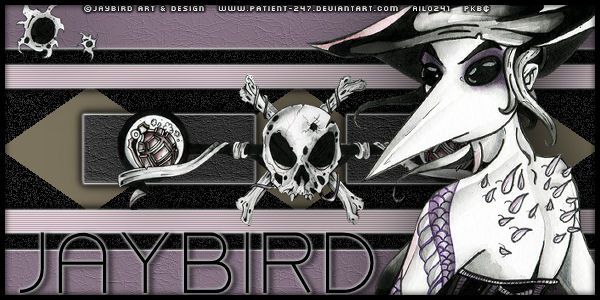
I made this tag for a
challenge in The Zone Groups forum and it was too cute not to tut!!
Splish Splashin’ Fun
This tutorial was written by me on February 19, 2013, using my own ideas. Any resemblance to others is
coincidental and accidental. This tutorial assumes you have a working knowledge
of psp and is written in PSPX.
Please leave some love when downloading supplies. The
artists/creators work hard to make/share their work with us, so let's be
appreciative. Please use all correct copyright information and follow all
TOU’s. Let’s give credit where credit is due.
As always, tutorials are only a guideline. If you
don't have the exact supplies, use ones you have or ones you choose.
Supplies:
Word Art of choice
about rain (Sorry, the one I used is not available for download. It was made by Dream Silk Design for a forum challenge)
Mura’s Meister_Copies
VDL
Adrenaline_Snowflake
Font_SimSun-ExtB
Abbreviations:
EC = Eye Candy
GG = Gradient Glow
DS = Drop Shadow
C/P = Copy and Paste
FF = Flood Fill
ANL = Add New Layer
AS = Animation Shop
Open blank 600x250
canvas
C/P tube_Duplicate
On original_Mura’s
Copies_Wallpaper Rotate_Default
Blur_Radial
Blur_Twirl_50_30_50_50_5_Elliptical checked
ANL below blur
layer_FF #a8ccda
Back on Blur
layer_change blend mode to Luminance L
Merge FF and blur
layer_Duplicate_Flip_Mirror_move to top
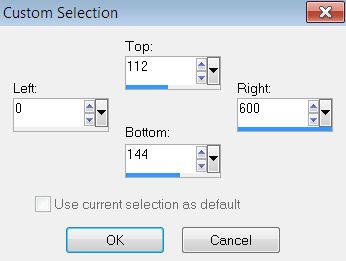
Select all_Contract
3_Delete_Select none_DS_0_0_100_10_Black
Move tube to the left
and position
Duplicate tube_Mirror_move
to the right and position as shown
Blend_Luminance and
lower opacity to about 68
~*~*This tube came
with an image that has a water puddle splash_If the tube you’re using doesn’t
have one, skip this part:
C/P image_Line up
with the mirrored tube on right_erase everything except the splash
Duplicate
splash_mirror_Move behind original tube on left (I had to duplicate and mirror
again)
Change blend mode of
splash layers to Luminance and lower opacity to about 68~*~*
C/P word
art_DS_2_-5_50_5_Black (or using font of choice, type out a saying about rain)
Lower opacity to 70
ANL between tube
layers (right tube and all splash layers should be below this layer)
Duplicate for 3 blank
layers
Highlight top blank
layer
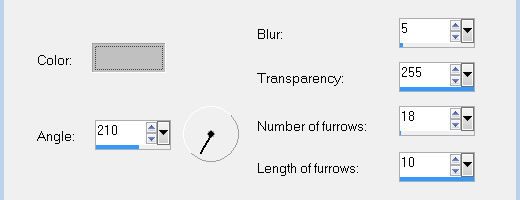
VDL
Adrenaline_Snowflakes_73_0_10_100_0_Basic Snow_Random Seed 400
Repeat for other 2
blank layers changing random seed to 600 and 800
On each snow layer
apply the following_Blur_Motion Blur_220_51
Close bottom 2 “rain”
layers
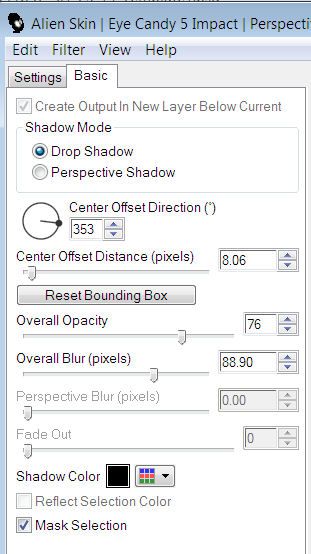
DS main
tube_0_0_50_25_Black
Add all correct
copyright/license information
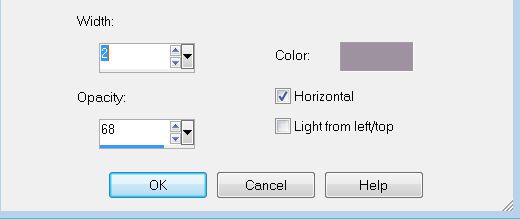
Add name_SimSun-ExtB_100_stroke
1 #325664_ fill #72b8d4
Highlight all letters
of name except the first initial_change size to 72
DS_2_-5_50_5_Black
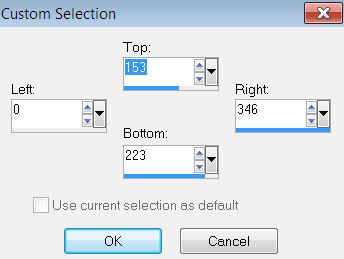
Highlight background
layer_Crop to layer opaque
Avatar: open blank
150x150 canvas
Crop the water drops
from the word art and paste as new layer
Type the first letter
of your name, same settings as for sig tag changing size to 120
DS same settings and
save
ANIMATING
Main sig tag_Copy
merged_paste as new animation in AS
Back to PSP_close top
rain layer, open middle rain layer
Copy merged_paste
after frame in AS
Repeat for the last
rain layer
~*~* Be sure to C/P
from top to bottom in order or the rain will be jumpy~*~*
Check your animation
and if it looks good, save and enjoy!!