Showing posts sorted by relevance for query pink spring. Sort by date Show all posts

Sunday, March 16, 2014

No Scraps Forum Set - Pink Spring

Pink Spring


This tutorial was written by me on March 15, 2014, using my own ideas. Any resemblance to others is coincidental and accidental. This tutorial assumes you have a working knowledge of psp and is written in PSPX.
Please leave some love when downloading supplies. The artists/creators work hard to make/share their work with us, so let's be appreciative. Please use all correct copyright/license information and follow all TOU’s. Let’s give credit where credit is due.
As always, tutorials are only a guideline. If you don't have the exact supplies, use ones you have or ones you choose.


Supplies:

“PO2 MTLO” (Pink Elephant and worm) by TooshToosh
Butterfly animation by Simone of Scrappy Bit Of Fun
Blue Gradient of choice
Grass Blades and Flower 12 tubes (I got these picture tubes from Corel but I don't see any downloads for them now)
Medhi_Weaver
Font_Grenadier


Abbreviations:
EC = Eye Candy
GG = Gradient Glow
DS = Drop Shadow
C/P = Copy and Paste
FF = Flood Fill
ANL = Add New Layer
AS = Animation Shop


Open blank 600x250 canvas

ANL_FF with gradient_angle_0_repeat_0_Linear

Medhi_Weaver_default
Effects_Edge Effects_Enhance More
Effects_Distortion Effects_Twirl_278

ANL
Picture tube tool_Grass Blades tube_scale 21
Click on left bottom of canvas_hold down left button_drag across canvas
Repeat a few times until covered to your liking

ANL
Picture tube tool_Flower 12 tube_scale 10
Add flowers in random places across grass

C/P Elephant tube
Duplicate

Original tube layer_Adjust_Blur_Gaussian Blur_5
Medhi_Weaver_Default
Effects_Edge Effects_Enhance More
Move to the right and up slightly
Place this layer below grass layer

On duplicate tube layer_DS_0_0_50_35_Black

Repeat DS on grass and flower layers

ANL to top of canvas
FF_#85d6db
Select all_Contract 2_Delete_Contract 2_FF #85d6db_Contract 2_Delete_Contract 2_FF #85d6db_Contract 2_Delete_Select none
You should have 3 frames

Add noise_45
Repeat DS
(I duplicated my frame a few times to make it stand out more)

Add all correct copyright/license information

Name_Grenadier_48_Black

Animating:

Copy Merged

In AS be sure the “Propagate Paste” button is clicked (looks like pages of paper in tool bar at top)

AS_Paste as new animation_CTRL+L until you have 8 frames
Edit_Select all

Open butterfly animation_edit_Select all_Copy

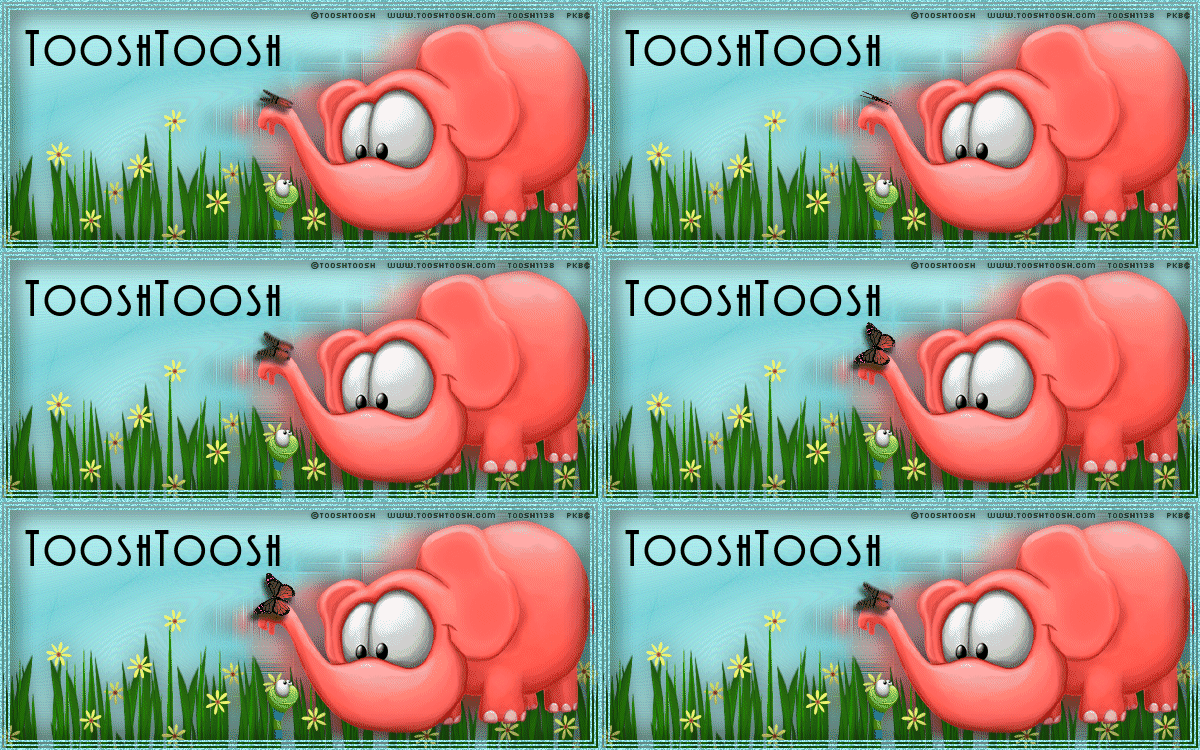
Original Tag_CTRL+E and place butterfly on nose of elephant

Save!!

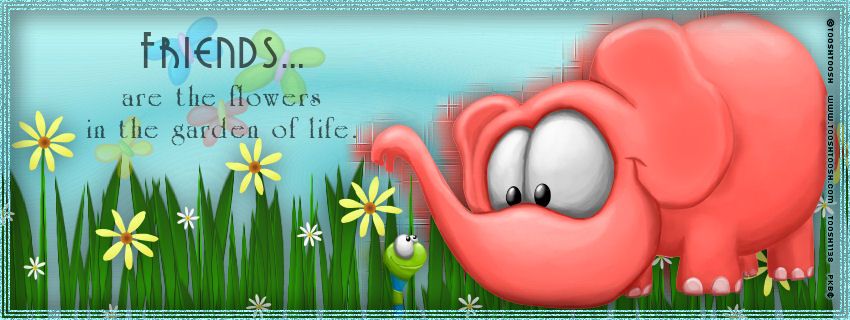
I also made a Facebook header with this and added a friendship saying. :)

Thursday, May 19, 2016

FTU - "Fabulously Pink"

Fabulously Pink


This tutorial was written by me on May 19, 2016, using my own ideas. Any resemblance to others is coincidental and accidental. This tutorial assumes you have a working knowledge of psp and is written in PSPX6. 


Supplies:


"Stapic Angel" by Tania Santos - tube/license currently available at ADI


Masks 154 and 158 by Insatiable Dreams (look for "Masks 6")

Word Art/Saying of choice


Filters:


Fonts:

NSimSun


Abbreviations:

DS_Drop Shadow

ANL_Add New Layer

EC_Eye Candy

GG_Gradient Glow

AS_Animation Shop

C/P_Copy and Paste

FF_Flood Fill


Open blank 600x600 canvas


ANL

C/P paper 1 into selection

Select none

Image_Mirror

Duplicate


Highlight bottom paper layer

Apply Mask 154


Highlight paper duplicate layer

Apply Mask 158

Add Noise_Gaussian_25


ANL

Select All

C/P paper 3 into selection

Select none

Apply Mask 158

Add Noise_Gaussian_45


Open new blank 600x250 canvas

ANL

Select All

C/P paper 9 into selection

Select none


C/P all 3 mask layers onto the new canvas:

Mask 158 paper 1 noise mask, move to the right side of canvas

Mask 158 paper 3 mask, move to bottom left of canvas


C/P tube placing to the right as shown

Adjust paper 1 noise mask so it shows from behind the tube


C/P element 12 placing as shown

(The paper 3 mask should look like water for the lilies)

Sharpen


C/P element 11

Selection tool_Select one of the Flamingos

Promote to layer

Invert

Promote to layer

Select none

Delete original Flamingo layer


Arrange and re-size Flamingos to your liking

Sharpen


DS Flamingos, Lilies, and tube_2_5_35_5_Black


Add word art/saying of choice

Repeat DS


ANL

FF #e1318a

ANL

FF Black

Select All_Contract 2_Highlight Black layer_Delete

Contract 1_highlight pink layer_Delete

Select none


Add all correct copyright/license information


Name_ NSimSun_22_#e1318a


Save!!

Monday, March 6, 2017

No Scraps "The Moon"


The Moon


This tutorial was written by me on March 06, 2017 using my own ideas.

Any resemblance to others is coincidental and accidental.

This tutorial assumes you have a working knowledge of psp and is written in PSPX6.


Supplies:

"Playful Moon" tube by Amanda S. Byron - tube/license currently available at ADI

"Spring 3" Template by Flaminsal


My Word Art below


Click image, then right click and save the full size png


Filters:

Filters Unlimited 2_Photo Tools

Tramages_Tow The Line


Fonts:

ParkAvenue BT


Abbreviations:

DS_Drop Shadow

ANL_Add New Layer

EC_Eye Candy

GG_Gradient Glow

AS_Animation Shop

C/P_Copy and Paste

FF_Flood Fill


When working with templates, always Shift+D to duplicate, close original,

then on each layer, select with magic wand (or Select All, Float, De-float), ANL,

close/delete the original, do steps required in tutorial, select none


Make a gradient using #7c94e2 and #373575

Angle_45

Repeats_5

ANL to bottom

FF with gradient

Apply mask

Blue Glitter Circle_#000080

Blue Circle_#6078c6

Add Noise_Uniform 30

Grey Rectangle_#aa9ac8

Pink Rectangle_#383677

Add Noise_Random 15

Yellow Circle_Filters Unlimited 2_Photo Tools_Frosted Edger, Black_96_119

Add Noise_Random_5

C/P Word Art

Green Rectangle_#000080

Tramages_Tow The Line_80_54_48_9

Flower_Close/Delete

Butterfly__Close/Delete

Word Art__Close/Delete

Credits__Close/Delete

C/P tube

DS_0_15_20_5_Black

Pre-Set Shape Tool_Symmetric Shape Tool_Star_5 sides_ #ffff80

Draw a small star

Convert to raster

Add Noise_Gaussian 45

Inner Bevel_#2_21_30_10_-20_35_White_135_35_60

Duplicate

Re-size 85%

Duplicate

Re-size 85%

Arrange as shown

DS each template and star layers_0_0_75_15_Black

Crop to 600x600

Add all correct copyright/license information

Name_ ParkAvenue BT _100_Black

DS_0_0_100_5_ #ffff80

Save!!