
Brush Strokes
This tutorial was
written by me on July 28, 2012,
using my own ideas. Any resemblance to others is coincidental and accidental.
This tutorial assumes you have a working knowledge of psp and is written in
PSPX.
Please leave some
love when downloading supplies. The artists/creators work hard to make/share
their work with us, so let's be appreciative. Please use all correct copyright
information and follow all TOU’s. Let’s give credit where credit is due.
As always, tutorials
are only a guideline. If you don't have the exact supplies, use ones you have
or ones you choose.
Supplies:
Gems Mask 129
Font of choice - I used
Broadway BT
Abbreviations:
EC = Eye Candy
GG = Gradient Glow
DS = Drop Shadow
C/P = Copy and Paste
FF = Flood Fill
Open 600x600 canvas
C/P RD26
C/P RD26
Add new layer –
select all
C/P paper 07 into
selection
Select none
Apply mask
C/P RD51
Free rotate left_10
Select inside of
frame
Expand by 5
Add new layer below
frame
C/P paper03 into
selection
Select none
Repeat with RD52,
rotating to right and C/P paper02 into selection
C/P RD46
C/P the roses, cat,
and Alice, re-sizing and placing as
shown
DS
each_0_0_100_7_Black
Merge these 3 layers
together
Duplicate
Effects_Brush
Strokes_settings below:
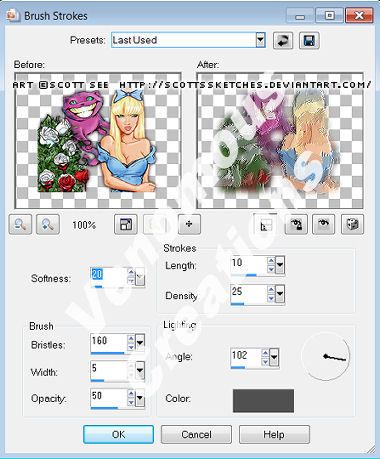
Change blend mode to
Darken
Make a selection of
the easel canvas slightly in from edge
Invert and hit delete
on the 2 tube layers (this makes a small white border on canvas)
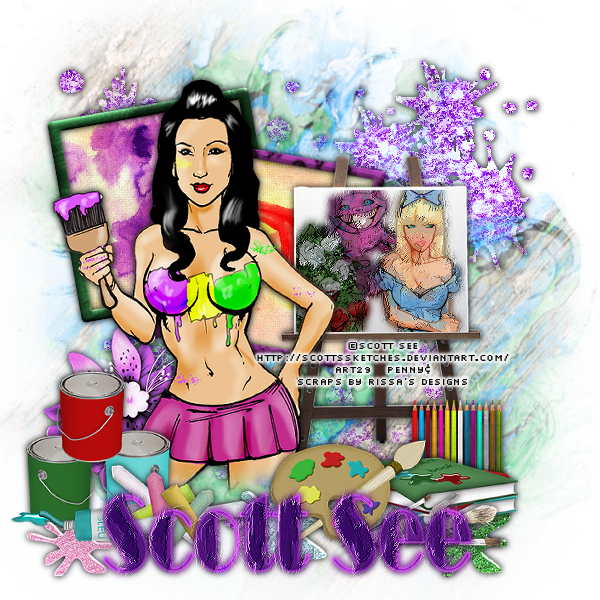
C/P “Wet Paint” tube
C/P any other
elements you like, placing them as desired
Ds all_0_0_100_10_Black
Add all correct
copyright/license information
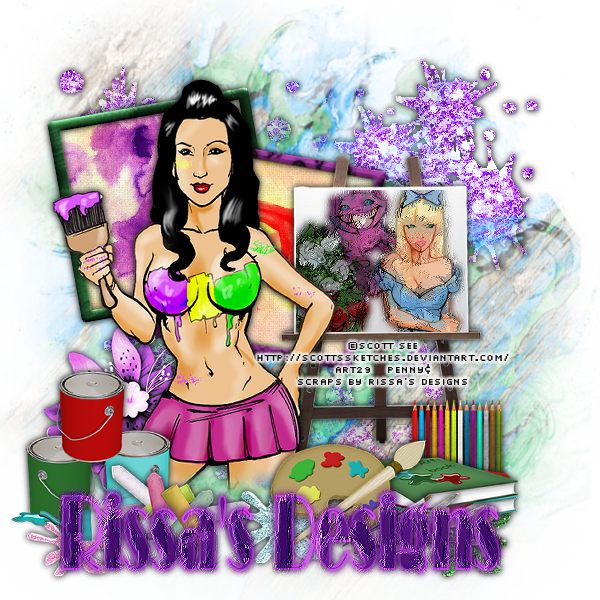
Add name_Broadway
BT_72_Fill #330760_Stroke_2_#dd56fa
Duplicate_Repeat
Brush Stroke Effect
Repeat DS on original
name layer
Save and enjoy!!
No comments:
Post a Comment