
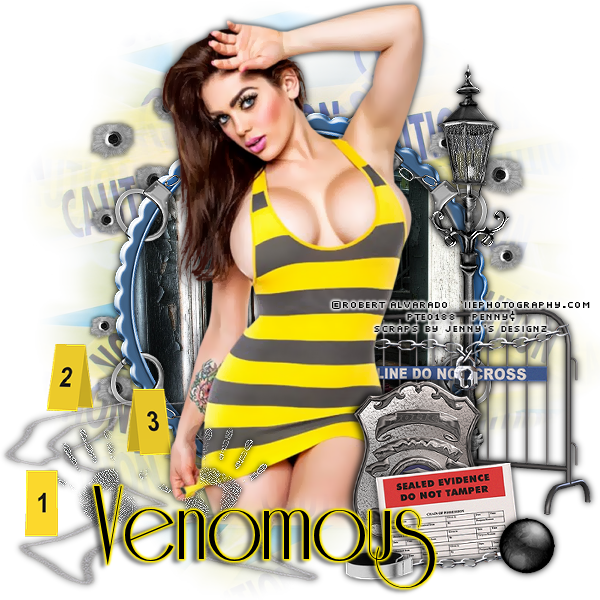
Crime Scene
This tutorial was
written by me on June 23, 2012,
using my own ideas. Any resemblance to others is coincidental and accidental.
This tutorial assumes you have a working knowledge of psp and is written in
PSPX.
Please leave some
love when downloading supplies. The artists/creators work hard to make/share
their work with us, so let's be appreciative. Please use all correct copyright
information and follow all TOU’s. Let’s give credit where credit is due.
As always, tutorials
are only a guideline. If you don't have the exact supplies, use ones you have
or ones you choose.
Supplies:
“Buzzz” by RobertAlvarado available at PTE
Please do not use this
same tube without the proper license
“O No A Cop” FTU
Scrap Kit by Jenny’s Designz
Mask of choice – I chose
Becky_Mask023
Eye Candy 4000 –
Gradient Glow
Abbreviations:
GG = Gradient Glow
DS = Drop Shadow
C/P = Copy and Paste
FF = Flood Fill
Open new 600x600
image
Add a new layer
Select All
C/P paper 7 into
selection
Select none
Layers – New Mask
Layer – From Image – choose your mask
Merge Group
C/P frame
Using magic wand
select inside frame
Expand by 15
Add new layer below
frame
C/P paper 4 into
selection
Select none
C/P the following
elements, placing as shown:
Ball and chain
Chain 1
Chalk body
Evidence marker 1, 2,
and 3
Evidence tag
Fence
Hand prints black
Lamp
Shield
DS all
layers_0_0_100_10_Black
Add copyright/license
information
Add name_Riesling_120_Black
Convert to raster
EC_GG_3_25_100_#fce600
DS_2_-5_50_5_Black
Save and Enjoy!
I LOVE IT.....so glad I came to check out ur tuts
ReplyDeletei Hve it load to hte blog
theres some new kits up sweetie