
Framed Fairy
This tutorial was
written by me on May 31, 2012,
using my own ideas. Any resemblance to others is coincidental and accidental.
This tutorial assumes you have a working knowledge of psp and is written in
PSPX.
Please leave some
love when downloading supplies. The artists/creators work hard to make/share
their work with us, so let's be appreciative. Please use all correct copyright
information and follow all TOU’s. Let’s give credit where credit is due.
As always, tutorials
are only a guideline. If you don't have the exact supplies, use ones you have
or ones you choose.
DS = Drop Shadow
C/P = Copy/Paste
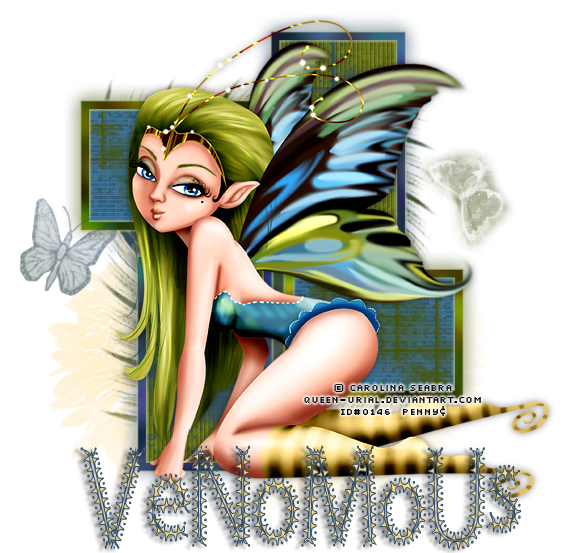
Supplies: Tube of
choice – I used an awesome little fairy by Carolina Seabra – aka: Queen Urial
Please do not use Ms. Seabra's art without the proper license
Please do not use Ms. Seabra's art without the proper license
Brushes of choice
Mask of choice
Font of choice – This
one is CircusCircus
Eye Candy 4000 – HSB
Noise and Gradient Glow
Open a new 600x600
blank image in psp.
Select 2 colors from
your tube
Rectangle tool – line
width 10
Close the background
color
Draw our a rectangle
on canvas – convert to raster
Repeat with opposite
color
I did mine in
different sizes
Duplicate and place
each shape as shown
Merge squares
together
Duplicate
On duplicate – Eye
Candy 4000 – HSB Noise – default settings
On original frames –
Adjust – Blur – Gaussian Blur - 10
Using magic wand –
click inside each shape
Selections – Modify –
Expand – 5
Add new layer below
squares
Flood fill each
square with the opposite color (blue fills with green – green fills with blue)
Select none
Magic wand – select
blue blocks
Effects – Texture
Effects – Blinds_5_50_#5b9ece (or lighter shade of your color)_Hoizontal
unchecked
Select none
Repeat for green
blocks using #d1ce5c (or lighter shade of your color)
Duplicate
On duplicate –
Effects – Xero – Fritillary_5_30_10_17
Effects – Edge
Effects – Enhance
Lower opacity to
about 65
Add new layer above
blocks
Alternating colors,
aply brushes of choice, adding new layer for each different brush
Add new layer and
send to bottom
Make a gradient using
the 2 colors you chose earlier – Angle_45_Repeats_2
Open mask in psp
Layers – New Mask
Layer – From Image – choose mask from drop down list
Merge group
Select original frame
layer
Effects – Eye Candy
4000 – Gradient Glow_3_25_100_#fcd97f
DS_0_0_100_10_Black
Now add tube as a new
layer
DS_0_0_50_10_Black
Add all correct
copyright info
Add name_CircusCircus_100_Stroke_1_#314d68_Fill #fcd97f_alternate Upper and
lower case letters
Convert to raster
DS_2_-5_50_5_Black
Save and you’re
done!!
No comments:
Post a Comment